Our Services
One-Stop Solution for Waterproofing Problems
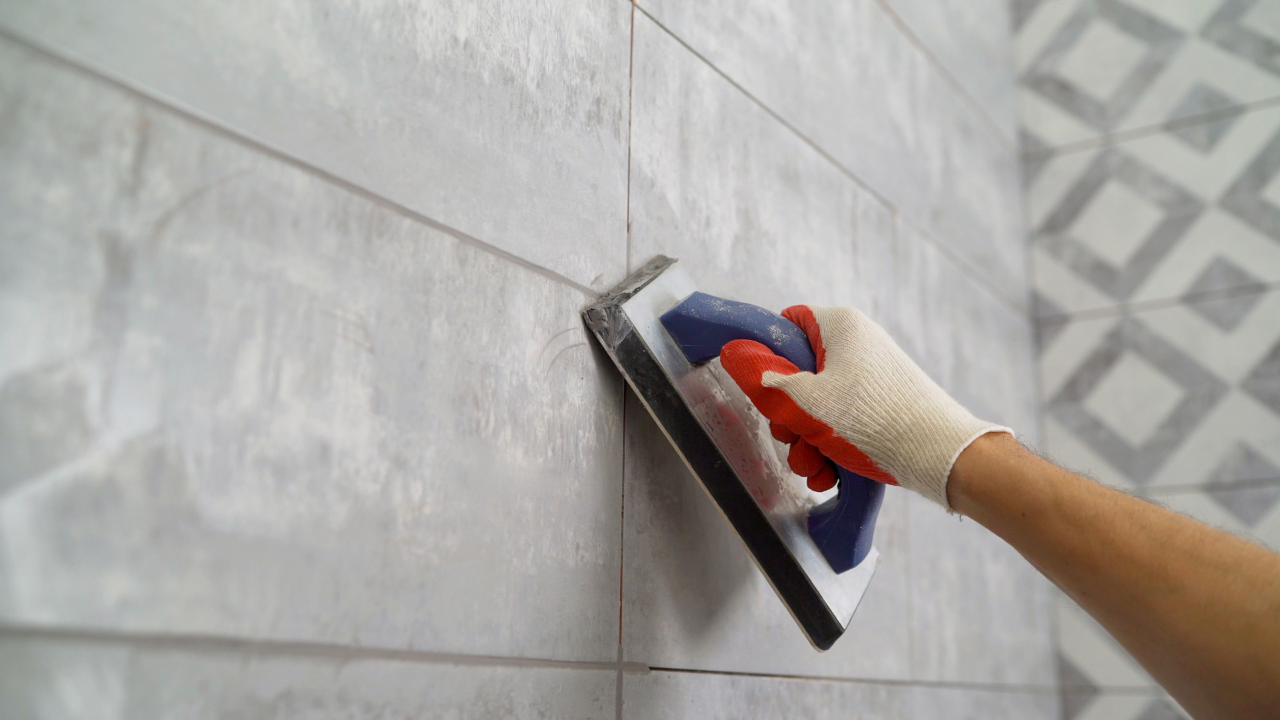
Bathroom Tiles Epoxy Work

Waterproofing bathroom tile joints is essential for several reasons:
-
- Protects the Subfloor: Water can seep through porous grout, reaching the subfloor and causing damage, rot, and even structural issues.
- Preserves Tiles: Moisture can weaken the adhesive holding tiles in place, leading to cracks, loose tiles, and eventual replacement.
-
- Health Hazards: Mold and mildew thrive in damp environments, releasing spores that can trigger allergies and respiratory problems.
- Aesthetics: Mold and mildew discolor grout and tiles, making the bathroom look unsightly.
-
- Prevents Bacteria Growth: Waterproofed joints create a less hospitable environment for bacteria, improving overall bathroom hygiene.
- Easier Cleaning: Sealed joints repel water and dirt, making cleaning easier and faster.
-
- Protects Investment: Waterproofing extends the life of your tile installation, saving you from costly repairs and replacements.
In summary, waterproofing bathroom tile joints is a proactive measure that safeguards your home’s structure, promotes a healthier living environment, and enhances the overall aesthetic appeal and longevity of your bathroom.
1.Preparation:
-
- Clean the Surface: Thoroughly clean the tile joints to remove any dirt, soap scum, or old grout. Use a grout cleaning solution or a mixture of vinegar and water.
Cut the Joints:
-
- Existing Tiles: Cut the existing tile joints using a cutting machine.
- New Bathrooms: Tiles should be laid with spacers to ensure proper grout filling.
- Wear a Mask: Grout removal creates dust, so wear a dust mask to protect your respiratory system.
2.Mixing the Epoxy Grout :
-
- Preparation: : Mix component B with a spreader, pour it all into the bucket of component A, making sure that none of component B is left in the tin. Mix the two components using a low-speed helicoidal agitator until a smooth, even coloured mixture is obtained. Use a spreader to scrape the walls and bottom of the bucket of component A once component B has been poured into it, so that there are no areas of product that have not been properly mixed. Mixing by hand is not recommended. The mixture remains workable for approximately 45 min. (value calculated at +23 °C, R.H. 50%)
3.Application of Epoxy Grout:
4.Cleaning and Finishing :
-
- Preparation: : First cleaning with rubber spreader: once the joints have been filled, remove any excess grout that is left on the tiles immediately with the rubber spreader (working diagonally). Addition of Fuga-Wash Eco to the cleaning water. Recommended dosage: 1 measuring cap for every 5 litres of water. Use the wash-boy ➀ to carry out the first cleaning pass with a cellulose sponge or abrasive felt pad, removing any excess grout from the flooring. Use wash-boy to carry out the second and final cleaning pass, finishing and smoothing the grout in the joint. Change the washing water frequently so that it is always clean. Replace the sponge or felt pad if they become impregnated with product. – First pass Cleaning with cellulose sponge: clean when the grout is still fresh, using a cellulose sponge dampened with the water from tray . Use circular movements to soften the film of grout on the tiles and finish the joints. Collect up the emulsion formed on the tiles using the sponge.
5.Curing:
-
- Allow to Dry: Leave the epoxy grout to cure for the recommended time (usually 24 hours) according to the manufacturer’s instructions.
- Avoid Water Contact: Do not use the area where the epoxy grout was applied during the curing period.
Important Considerations
-
- Ventilation: Ensure proper ventilation during the application and curing process to prevent the buildup of fumes.
- Safety Precautions: Wear gloves and eye protection when working with epoxy grout.
By following these steps carefully, you can achieve a professional-looking and long-lasting epoxy grout finish on your tile joints.
Key Areas to Waterproof in Your Bathroom
- Floor: The bathroom floor is the most vulnerable area, especially around the shower and bathtub.
- Walls: Waterproofing walls, particularly those near the shower and bathtub, is crucial.
- Joints and Corners: Proper sealing of joints and corners is essential to prevent water penetration.
- Drainage System: Ensure the drainage system is efficient to avoid water accumulation.
- Budget: The cost of different waterproofing techniques varies, so it’s essential to consider your budget.
Professional Installation for Long-Lasting Protection
BUILDCARE waterproofing specialists are experienced professionals who can assist you with the following:
-
- Accurate Assessment: Conduct a thorough inspection to identify potential issues.
- Quality Materials: Use high-quality waterproofing materials.
- Expert Installation: Ensure proper application of the chosen technique.
- Warranty: Provide a five-year warranty for our work, giving our clients peace of mind.
By investing in quality bathroom waterproofing, you can protect your home from water damage, maintain its value, and create a healthier, more hygienic living space.
